


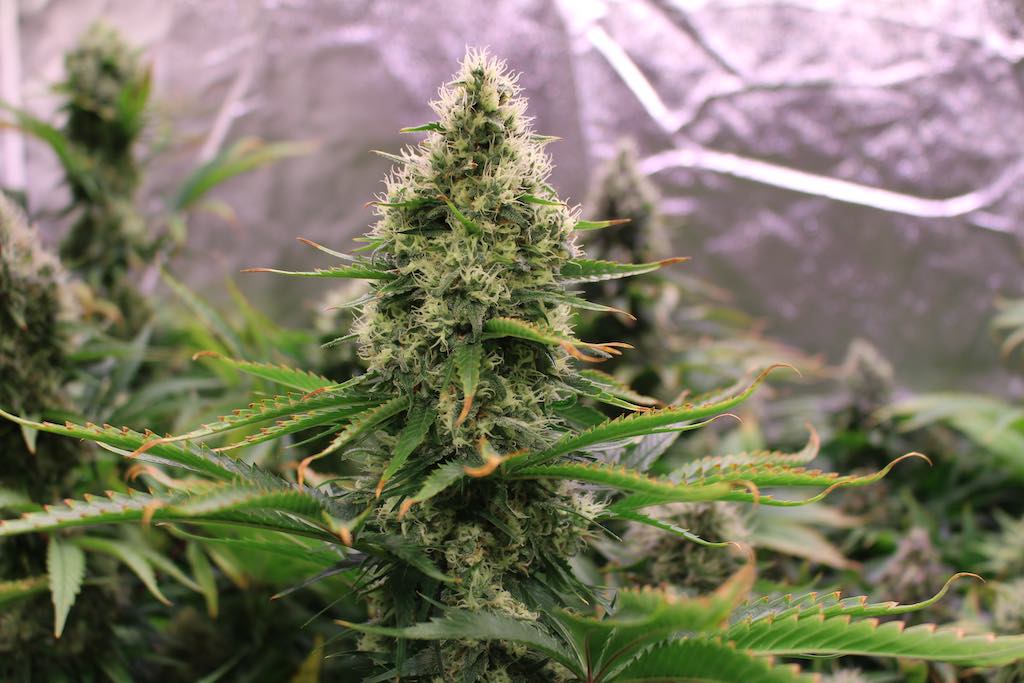
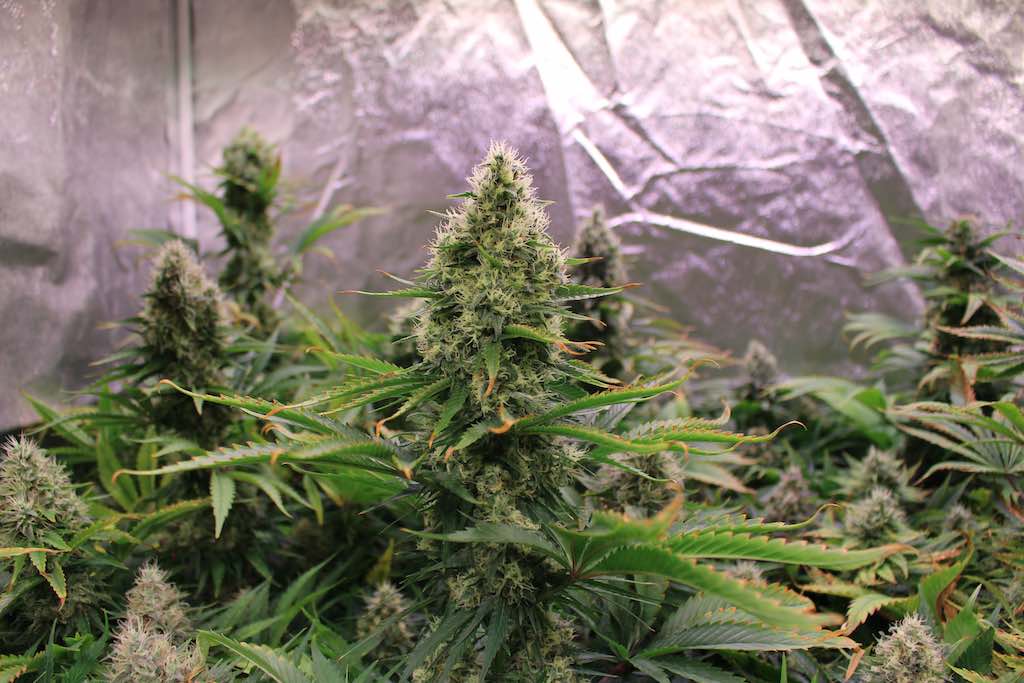
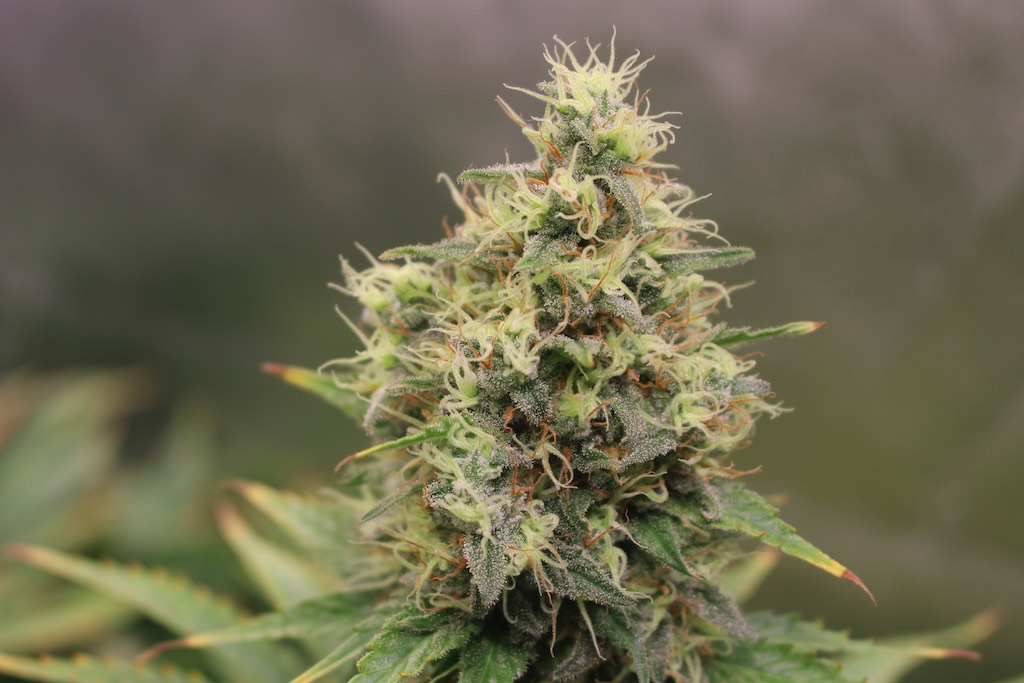
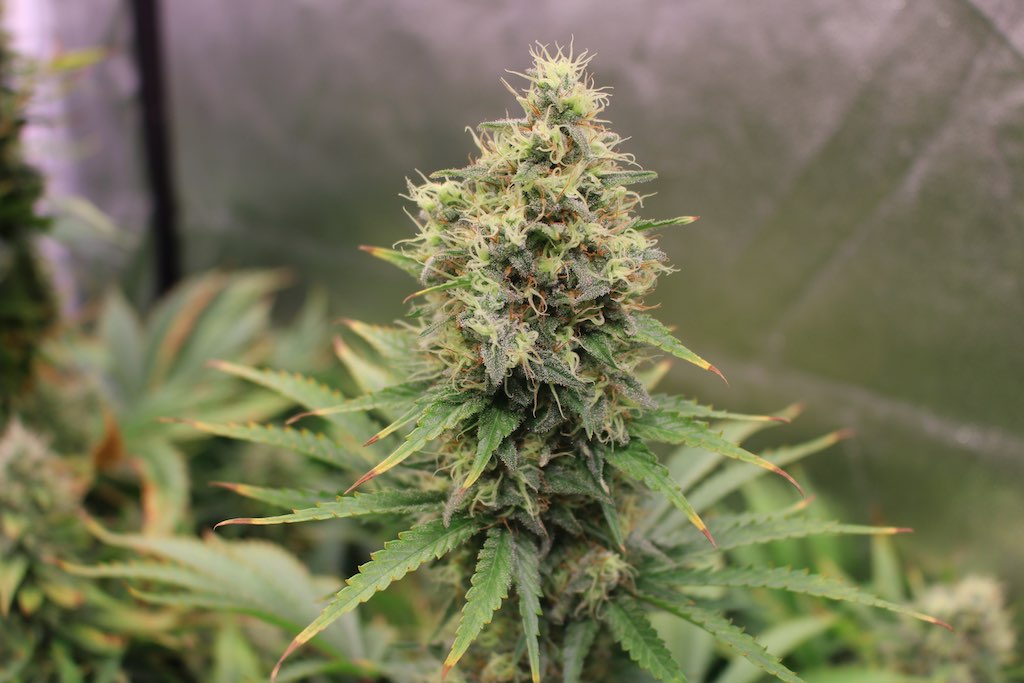
In search of a potent sativa-dominant strain, I came across Auto Euforia. Shortly after harvesting, I put these genetics into my personal Hall of Fame. In addition to the lush bud sites and a fantastic aroma, what really stood out about Auto Euforia was its effect. The name says it all. A humble plant that responds very gratefully to slightly-above average care and delivers extremely resinous weed. I would like to share with you how my grow went.
Customer grow review, text & photos from ‘Canney’


