


Growing cannabis outdoors is perhaps the lowest cost way to grow your own. All you need is a few good quality outdoor cannabis seeds and a sunny, sheltered spot with reasonable quality soil. You can always supplement the soil with additional high quality compost and fertiliser if necessary. You don’t need to live in a warm, tropical climate to be able to grow great quality outdoor cannabis.
High quality autoflower seeds can grow from seed to harvest in around 100 days outdoors (they are even faster indoors). Even those with short summers can find a good 3-month window to grow and harvest some autoflower seeds outdoors. But what are the best ways to harvest, dry and cure outdoor grown cannabis? Read on for some expert tips and advice.

5 Comments. Leave new
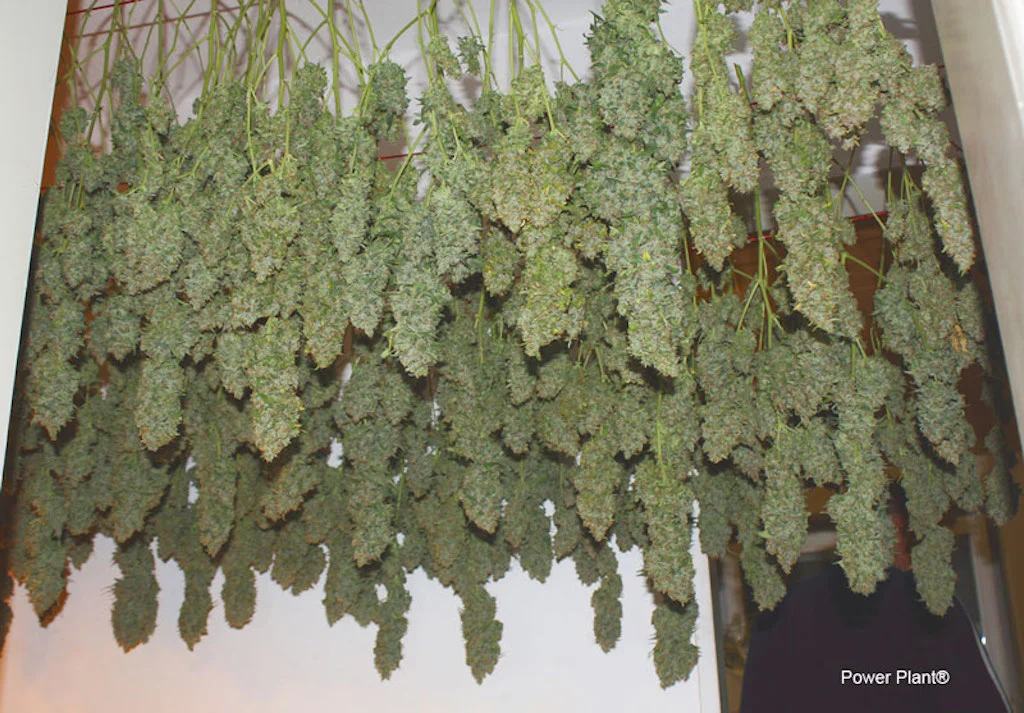
Generally your guides are good, so thanks. But this one on drying is not comprehensive enough. For instance, how do I dry the plants? If outside is it best to hang the whole plant upside down from a tree so the wind and the sun dry it with little risk of mould or do you strip all the good bits from the plants, discarding the trunk and branches and just dry the flowers/leaves in some other way?
Growing 3 plants 8 to 10 ft. Fertilized with raw fish only. My plants are as wide as high! I’need 2 strong men to pull them by the roots, hose the dirt off w
ith warm water then hang whole plants by their roots for six weeks in dark un-heated garage. What say you???
Do you have a youtube channel or or a site with all your content
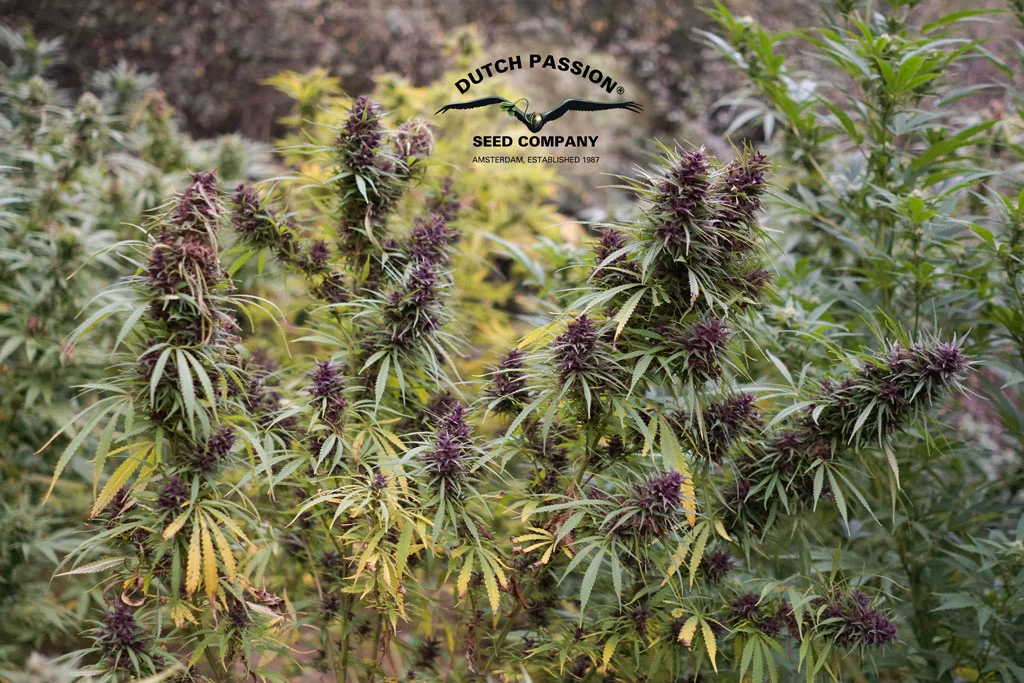
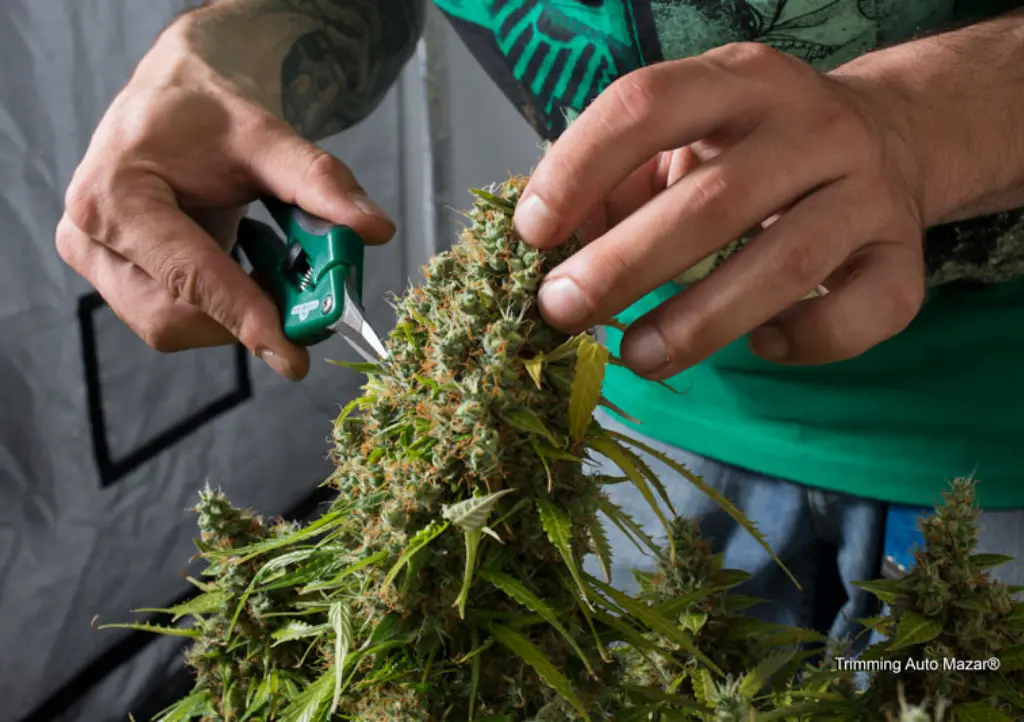
the plants in the picture should be pruned, i see a lot of sun leaves
If its been raining, do I need to wait until its dry to harvest outdoor plants? I live in a damp Northern area. Thanks for this blog, it’s excellent.