


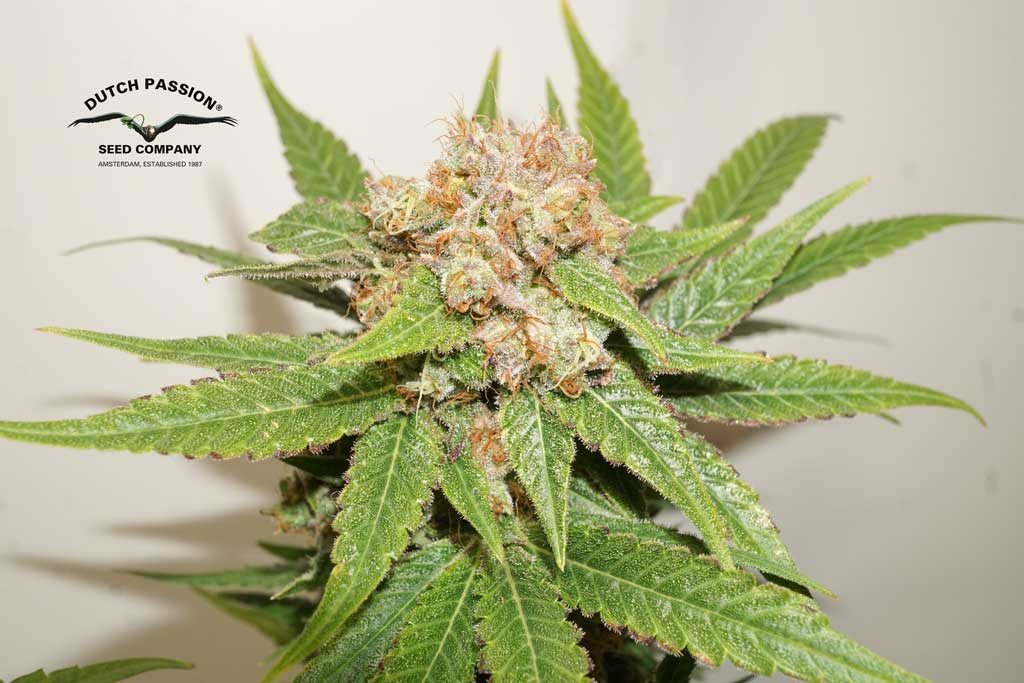
In search of the most potent genetics possible, I stumbled upon Glueberry OG during my late night research. The description read well and also grower comments (including one or two grow reports from the USA) made me extremely curious. Not only did this strain receive prestigious awards, but the fact that it combines fruit salad and Kush flavors really won me over as a Kush lover. And since it was time to put plants in my tent, the decision wasn’t difficult for me. You can read below here how everything went and whether the highly touted genetics would live up to their name.
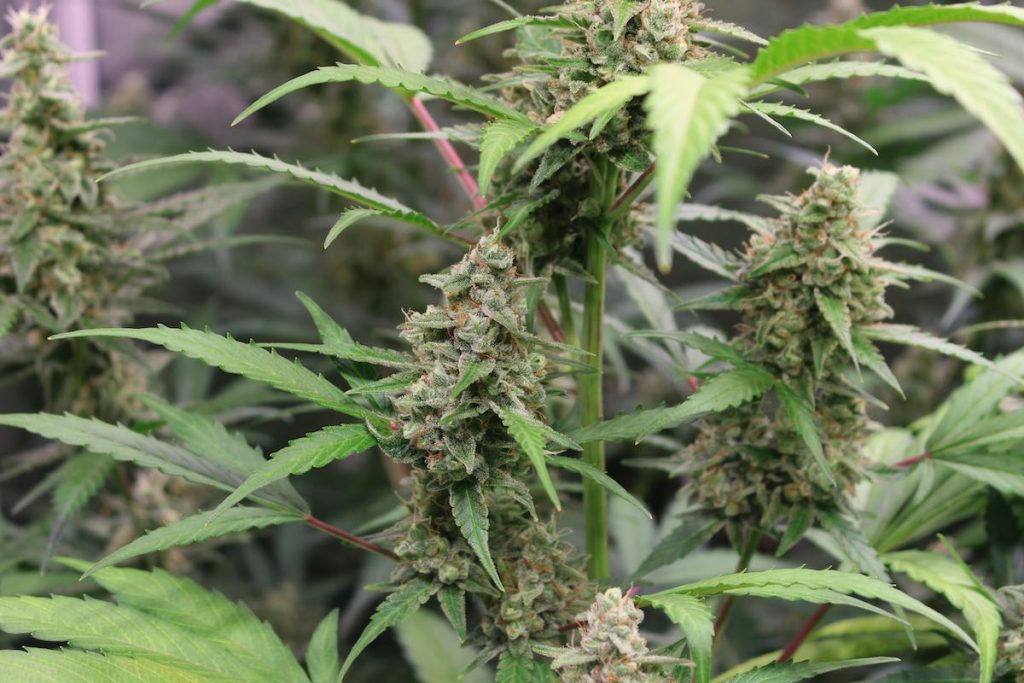
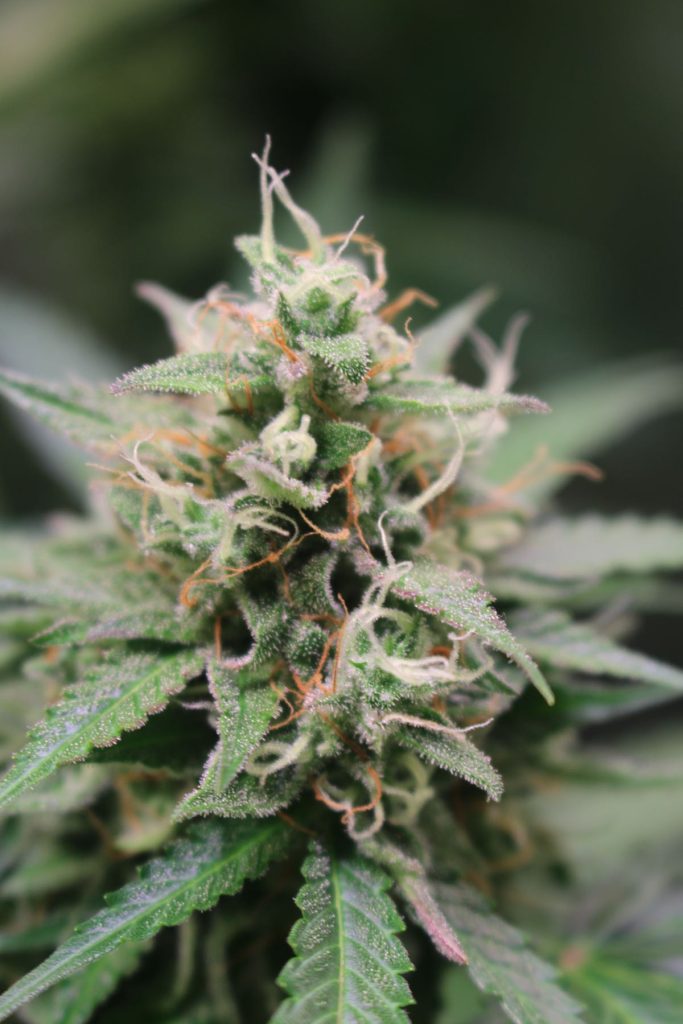
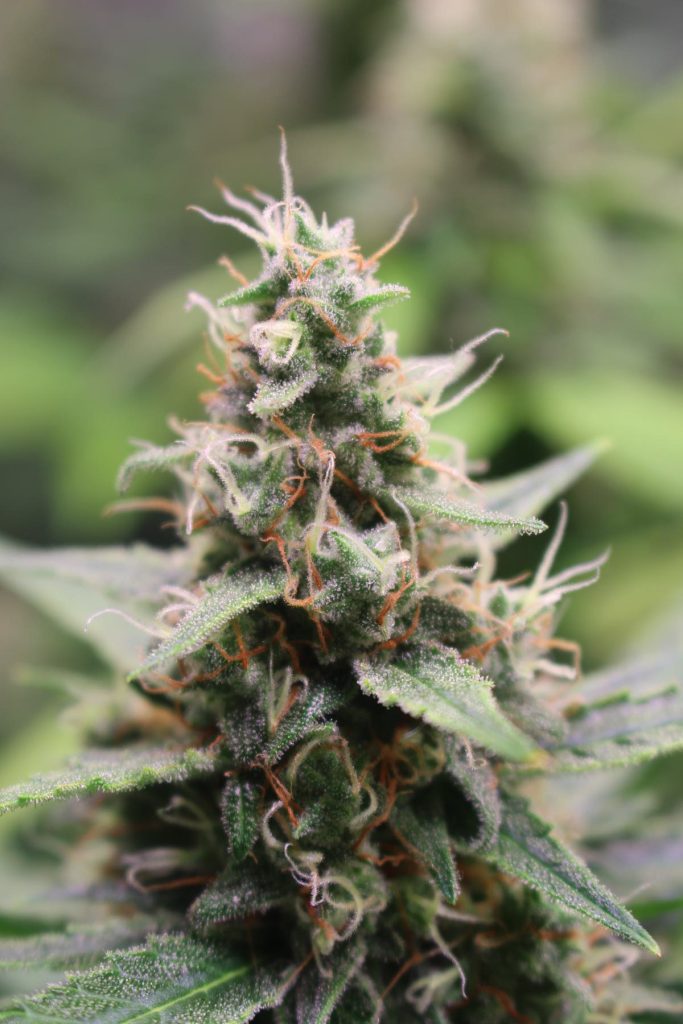
Customer grow review and pictures by Canney


